Most homeowners make one critical mistake: they prioritize looks over workflow. A beautiful kitchen that wastes steps, fails inspection, or falls apart in five years costs far more than proper planning. This guide shows which mistakes destroy kitchen function and how to avoid them.
Explore our kitchen remodeling services
Spatial Layout & Workflow Errors That Destroy Kitchen Function
Kitchen layout mistakes create daily frustration. You’ll walk extra miles each year. Appliances might fail inspections. Cabinets can block access. The wrong choices happen before construction starts.
Disrupting the Kitchen Work Triangle
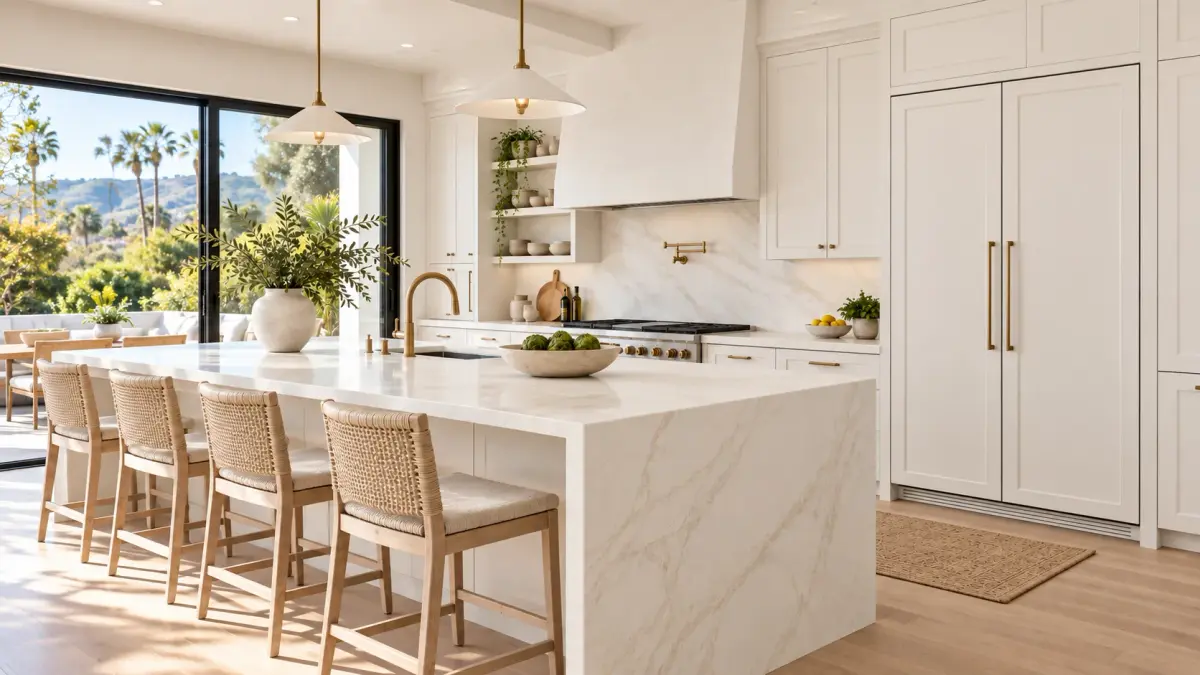
The kitchen work triangle is an imaginary line connecting your three main work zones: the sink, cooktop, and refrigerator. This triangle determines how many steps you take daily while cooking.
What the triangle measures:
- Distance from sink to cooktop
- Distance from cooktop to refrigerator
- Distance from refrigerator back to sink
Industry standards for work triangle spacing:
Each leg (the distance between any two appliances) should measure 4 to 9 feet. A 5-foot distance between sink and cooktop is ideal. A 6-foot distance between cooktop and refrigerator works well. A 6-foot distance from refrigerator to sink completes the pattern.
Total triangle perimeter: The sum of all three distances should not exceed 26 feet. Many homeowners create triangles over 26 feet, forcing them to walk 100+ extra steps daily.
Common mistakes that break the triangle:
An island that cuts into the triangle by more than 12 inches disrupts workflow. A wall placement that separates the sink from cooking zones creates inefficiency. A refrigerator positioned too far from prep areas forces backtracking.
Example of a broken triangle: A home places the refrigerator 12 feet from the sink, the sink 8 feet from the cooktop, and the cooktop 14 feet from the refrigerator. This 34-foot perimeter requires excessive walking. A better layout keeps the perimeter at 20 feet with balanced spacing.
Ignoring Functional Clearance & Door Swing Requirements
Appliance doors must open fully without hitting cabinets or walls. A sink needs clearance on both sides. Multiple cooks require different aisle widths than a single cook.
Minimum clearance requirements:
A single cook working in the kitchen needs at least 42 inches of walkway space. When two people cook simultaneously, the aisle width must increase to 48 inches. A kitchen island requires 36 inches minimum clearance to allow refrigerator doors to open completely.
Door swing math:
Your refrigerator door swings out 36 inches when fully open. If your counter is 24 inches deep and your island is 2 feet away, the door hits the island. You need at least 36 inches between the refrigerator and any object behind it for the door to open without obstruction.
Your oven door also requires space. A standard oven door swings 60 inches into the kitchen when fully open. Placing the oven at an end of a counter without walkway space forces you to open it toward the center of the room or limits opening range.
Real consequences:
You cannot fully use your refrigerator or oven. Guests cannot move through your kitchen safely. The design fails inspection for accessibility. You spend years frustrated with a kitchen that looked good on paper.
Storage & Cabinetry Pitfalls That Waste Space and Money
Cabinet mistakes cost thousands and waste valuable square footage. Many kitchens have dead space. Some have storage you cannot access. Others have drawers too deep for actual use.
Prioritizing Aesthetics Over Functional Storage
Open shelving photographs beautifully. Glass cabinet doors look elegant. But empty aesthetics waste kitchen space. Storage that looks good but doesn’t function is wasted budget.
Smart storage solutions:
Pull-out trash and recycling bins hide garbage behind cabinet doors instead of leaving it visible. Deep pot drawers with dividers keep cookware organized and accessible. Corner Lazy Susans rotate items into reach instead of creating dead space at the back of cabinets. Under-sink organizers with pull-out racks let you use space productively instead of storing random bottles.
Examples of wasted space:
A corner cabinet with a blind corner wastes 12 to 18 inches of depth because nothing in the back is reachable. A cabinet above the microwave looks balanced but stores items you access twice yearly. A decorative hutch displays dishware but takes up the space of a pantry or prep surface.
Functional first principle:
Ask yourself: Will I use this storage weekly? Can I reach items without assistance? Can items come out easily? If the answer is no, the space isn’t storage it’s decoration.
Underestimating Vertical Space and Counter Height
Most kitchens waste their ceiling. Standard counter height is 36 inches. Extending cabinets to the ceiling adds 20 to 30 percent more storage.
Standard counter height: 36 inches from floor to counter surface. This height works for the average 5-foot-8-inch person. It allows comfortable food prep and cooking without back strain. Dishwashers (34 inches tall) align with counters at this height. Slide-in ranges fit the standard 36-inch height.
Ceiling-height cabinets advantage: A kitchen with 9-foot ceilings can use cabinets extending from counter (36 inches) to ceiling (108 inches). This creates 72 inches of vertical storage enough for the overflow that fills your pantry.
Island height variations: Islands work best at 36 inches for food prep and 42 inches for bar seating. Many homeowners make islands at counter height only, wasting the opportunity for overhang seating and raised bar surfaces.
Comparison: Limited vs. Smart Vertical Use
A kitchen with cabinets stopping 2 feet below the ceiling (80 inches high) leaves dead space. Items accumulate on counters because no cabinet space exists. A kitchen with cabinets extending to 9-foot ceilings (108 inches) stores the same items behind closed doors. Counter clutter disappears.
Electrical, Lighting & Ventilation Oversights That Compromise Safety
Electrical and ventilation mistakes fail inspections and create unsafe kitchens. These systems are often hidden during design. Once walls close, corrections cost thousands.
Inadequate Lighting Layers Create Dark Work Zones
Most kitchens use only overhead light. Shadows fall on countertops where you prepare food. You cannot see clearly. You make mistakes. Work becomes frustrating.
Three lighting layers work together:
Ambient lighting provides general brightness throughout the kitchen (recessed ceiling lights, island pendants).
Task lighting illuminates work surfaces where precise visibility matters (under-cabinet LED strips, focused lights above the sink).
Accent lighting highlights features and creates atmosphere (lighting inside glass cabinets, uplighting under floating shelves).
Under-cabinet LED specifications:
Under-cabinet lights should provide 300 to 400 lumens per linear foot for secondary prep areas like coffee stations. Primary prep zones near the main counter require 450 to 550 lumens per linear foot. A typical 10-foot run of cabinets needs 3,000 to 4,000 total lumens for proper task lighting.
Lighting placement matters:
Overhead lights directly above you create shadows on work surfaces exactly where you need light. Lights mounted at the front of under-cabinet spaces eliminate shadows and illuminate the counter directly. Warm white light (2700K) feels cozy but appears dimmer than cool white (4000K-5000K) at the same lumens.
Real impact:
A kitchen with only overhead lighting feels dark during food prep. Chopping vegetables is harder. You experience eye strain. A properly lit kitchen with layered lighting (ambient + under-cabinet task + accent) feels bright, safe, and inviting. This is one detail that separates a functional kitchen from a beautiful one that doesn’t work.
Poor Power & Ventilation Planning Creates Code Violations
Electrical outlets placed too far from counters force extension cords. Range hoods undersized for your cooktop don’t remove smoke. Ventilation ducted ineffectively allows moisture buildup.
GFCI outlet spacing requirement:
Ground Fault Circuit Interrupter (GFCI) outlets are required within 4 feet of any sink or countertop where water exposure is possible. A 20-foot run of counters requires at least 5 GFCI-protected outlets. These outlets shut off power instantly if they sense moisture, preventing electrical shock. They are not optional building codes require them. When your kitchen remodeling contractor plans your electrical, they verify GFCI placement meets current code.
Minimum circuit requirements:
A dedicated 20-amp circuit must serve bathroom receptacles. This single circuit powers only the outlets in that bathroom nothing else. It prevents overload. Many kitchens require a separate 20-amp circuit for island outlets alone.
Range hood CFM calculation:
CFM (cubic feet per minute) measures how much air the hood moves. Gas ranges require 100 CFM for every 10,000 BTUs of burner output. A typical 40,000 BTU gas range needs at least 400 CFM. A 60,000 BTU professional-style range needs 600 CFM minimum.
Electric cooktops use cooktop width as the standard. A 36-inch electric cooktop needs 300 CFM (100 CFM per linear foot of width).
Ductwork matters:
A powerful range hood connected to undersized ductwork (under 6 inches) performs poorly. The duct itself must be straight as possible each 90-degree elbow reduces efficiency by 25 percent. A hood ducted 30 feet horizontally with multiple turns performs like a hood half its rated CFM.
Consequence of undersizing:
An undersized hood leaves cooking smells in your home. Grease circulates into living areas. Moisture from cooking remains in the kitchen, encouraging mold. An undersized hood is worse than no hood it redistributes contaminants instead of removing them.
Material & Surface Selection Mistakes That Increase Maintenance

Some materials demand constant maintenance. Others look beautiful for 20 years with minimal care. The choice determines your kitchen’s daily burden.
Choosing High-Maintenance Surfaces for Heavy Cooking Areas
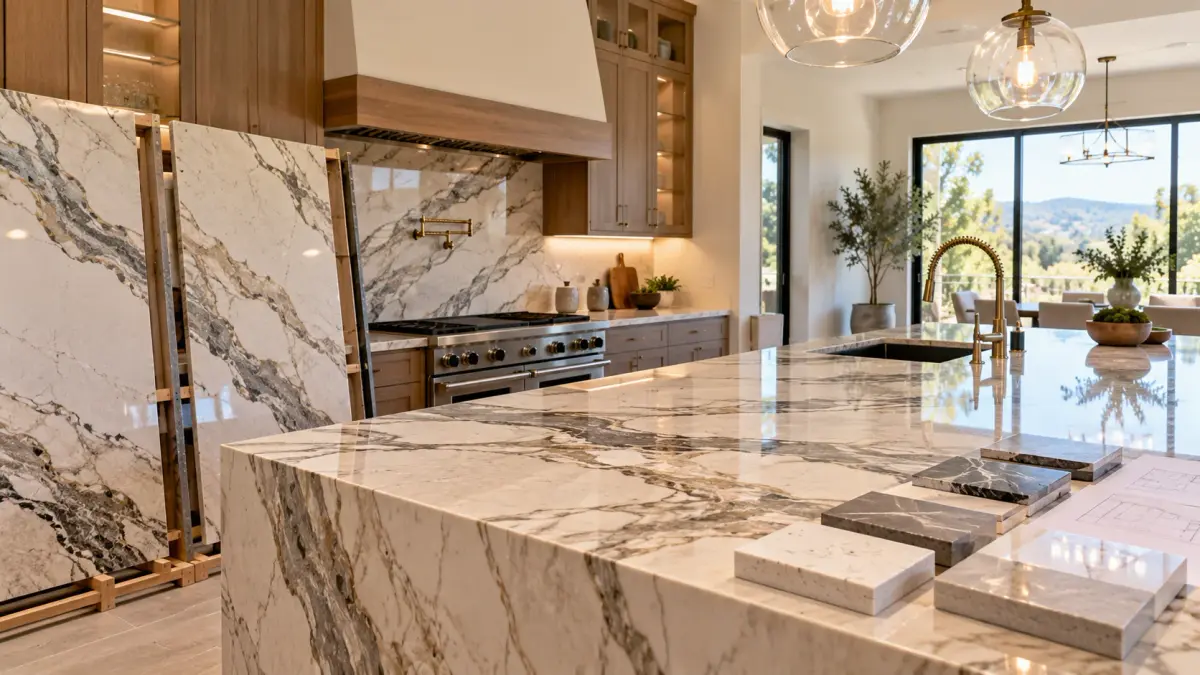
Marble is beautiful. Honed limestone offers warmth. But these materials stain without constant care. For active cooking kitchens, they become a burden.
Natural stone maintenance burden:
Marble requires sealing every 6 to 12 months to resist stains and water absorption. Acidic substances like lemon juice and wine etch marble permanently sealing doesn’t prevent etching, only staining. Spilled oil darkens marble and is difficult to remove. A marble-topped kitchen becomes a zone of careful tipping rather than actual cooking.
Porcelain tile advantages:
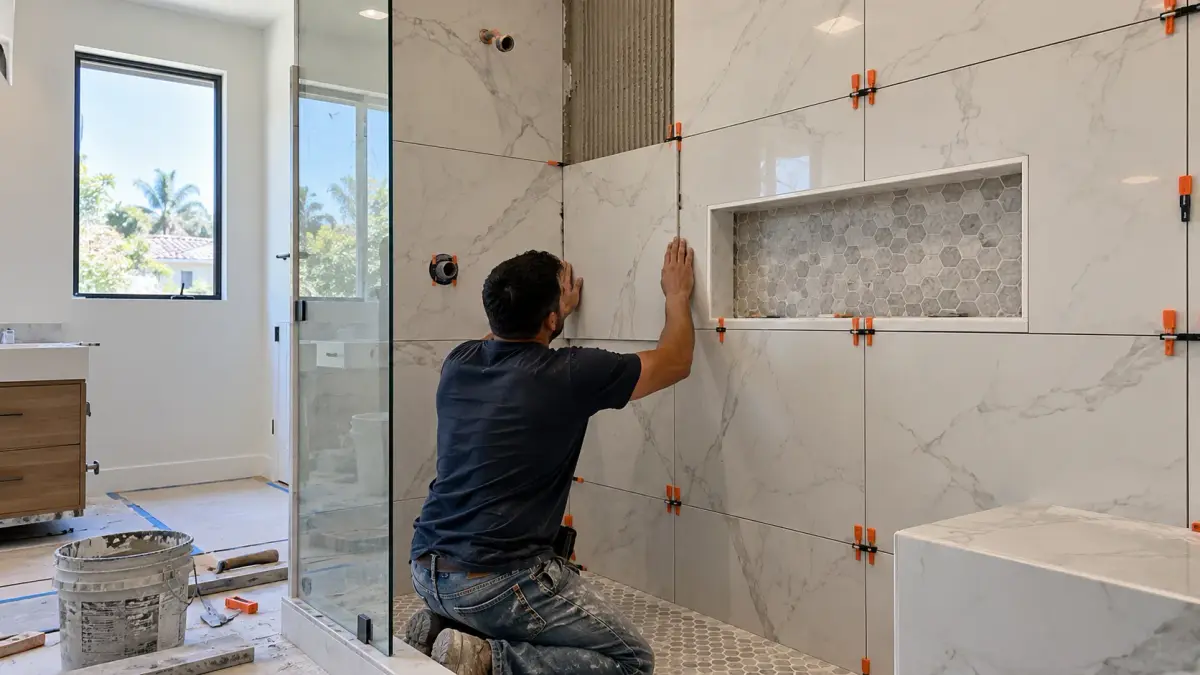
Porcelain tile absorbs less than 0.5 percent water, making it nearly stain-proof. It doesn’t require sealing. Acidic spills don’t etch the surface. You can cook aggressively without worrying about damage.
Comparison: Two Kitchen Surfaces
A marble countertop in a heavy-use kitchen requires sealing quarterly. Spilled wine stains immediately. Citrus juice etches permanently. The homeowner learns to avoid cooking actively on the marble and uses a cutting board constantly. Ten years later, the beautiful marble looks neglected and damaged.
A porcelain tile countertop handles the same spills without marking. No sealing required. You chop, spill, splash without anxiety. Ten years later, the tile looks exactly as it did at installation.
Material selection rule:
Choose materials based on how your family actually cooks, not how you wish you cooked. If you cook daily with multiple pots, acidic ingredients, and occasional spills, marble is not practical. Porcelain, quartz, or durable engineered stone are better choices.
Backsplash & Grout Practicality Errors
Grouted tile looks finished. But grout requires maintenance. Tight grout lines trap dirt. Cement grout stains easily. The wrong grout choice creates years of maintenance.
Grout type matters significantly:
Cement-based grout absorbs stains and water, requiring regular sealing. Even with sealing, coffee, wine, and grease stain cement grout permanently. Cleaning requires scrubbing.
Epoxy grout is non-porous and doesn’t absorb stains or water. Most spills wipe away with a damp cloth. Cleaning takes 50 percent less time compared to cement grout, and many homeowners report cleaning takes just a few minutes instead of hours of scrubbing.
Backsplash surface recommendations:
Large-format tile (12 inches or wider) has fewer grout lines. A backsplash with 10 grout lines collects less dirt than a backsplash with 40 grout lines. Large tiles with epoxy grout mean you wipe the surface once weekly and maintenance is done.
Small-format tile (4 inches or smaller) creates numerous grout lines. Dirt accumulates in the joints. Cleaning requires brushing between tiles. If using small tile, epoxy grout becomes essential.
Real maintenance burden:
A kitchen with small tiles and cement grout requires scrubbing grout lines monthly. A kitchen with large tiles and epoxy grout requires wiping once weekly. Over five years, the difference is dozens of hours of labor.
Budgeting & Project Management Failures That Derail Renovations
Budget failures are the most common remodel mistake. Projects stall. Quality suffers. Homeowners make desperate compromises mid-project.
Learn more about kitchen remodel costs in Los Angeles
Neglecting a Contingency Fund for Hidden Costs
Almost every kitchen remodel uncovers surprises behind walls. Outdated plumbing doesn’t meet code. Electrical is unsafe. Structural issues appear. Without a contingency fund, these discoveries force choices between bankruptcy and poor construction quality.
Industry contingency standard:
Setting aside 15 to 20 percent of your total remodel budget covers hidden structural, plumbing, and electrical surprises. For a $60,000 kitchen remodel, the contingency fund should be $9,000 to $12,000 kept separate and untouched except for genuine unforeseen costs.
This fund is not for upgrading to premium countertops mid-project. It is strictly for code violations, hidden damage, or structural issues discovered once construction begins.
Common hidden costs that deplete contingency funds:
Galvanized plumbing discovered behind walls must be replaced with copper or PEX per code. This costs $3,000 to $8,000. Knob-and-tube electrical wiring found requires complete replacement. Old load-bearing walls concealed asbestos-containing insulation requiring professional removal. Rotten subflooring underneath the old kitchen cabinets needs structural repair.
Without contingency:
A homeowner budgets $60,000. The contractor discovers outdated plumbing that costs $6,000 to replace. The homeowner has no choice: skip the upgrade, add debt, or stop construction. All three options damage the final result.
Changing Design Plans After Rough-In Work Begins
Rough-in work (plumbing, electrical, and structural framing) is the first stage after demolition. Once rough-in completes, changing the design costs triple compared to changing it before construction.
Change order cost multiplier:
A change decided before rough-in (relocating an outlet location by 2 feet) costs the material price plus labor perhaps $200.
The same change ordered after rough-in (walls are open, pipes are run, wiring is in place) requires undoing completed work, rerouting systems, and redoing inspections. Cost multiplies to $600 to $1,000.
Schedule impact of changes:
Each change after rough-in adds 5 to 10 days to the project. Multiple changes push the timeline into months of delay. Workers move on to other projects. Your finish date slips. Rental of temporary kitchen space accumulates.
What causes post-rough-in changes:
Homeowners see the actual space and realize they want the sink moved. They decide to add an island that wasn’t planned. They change their minds about appliance locations. These decisions are natural, but the cost of changing them is severe.
Solution: Finalize all appliance and plumbing fixture locations before rough-in begins. Live with your drawings for one week. Physically stand in the actual kitchen space and confirm the layout works. This 7-day confirmation prevents months of regret and thousands in change costs. Working through a step by step checklist before work starts makes it easier to confirm every decision in time. A professional design-build team walks you through this before construction starts.
Bypassing Permits & Licensed Professionals
Skipping permits seems like savings. You pocket the permit fee. You avoid inspections. You hire unlicensed workers who cost less. Then selling your home becomes impossible.
Work that always requires permits:
Structural wall removal or relocation requires permits because removing walls can compromise the home’s integrity. Plumbing relocation requires permits because improper installation creates code violations and water damage. Adding a subpanel or rewiring requires electrical permits because faulty work causes fires. Moving gas lines requires permits because gas leaks are deadly.
Unpermitted work consequences:
Disclosure requirement: When you sell, you must disclose all unpermitted work. This is a legal requirement. Failure to disclose results in lawsuits post-sale. Buyers often demand price reductions of 10 to 20 percent once unpermitted work is discovered. Some buyers walk away entirely.
Insurance claims: If a fire originates in an unpermitted electrical installation, your homeowner’s insurance can deny the entire claim. You become personally responsible for all damage and injuries.
Reality of cost savings:
Permit fees for a kitchen remodel range from $300 to $2,000 depending on the scope. Skipping permits saves $500 to $1,500. Unpermitted work discovered at sale reduces your home value by $5,000 to $15,000. The math is obvious permits save money, not cost it.
Licensed contractors handle permits as standard practice. They know the local building department. They submit plans correctly. They coordinate inspections. They ensure your kitchen passes final inspection. Explore more about kitchen remodeling permits in Los Angeles
See How Kitchen Remodels Are Done Right
The best way to learn what works is seeing real kitchens. Green Star Remodeling has completed 500+ kitchen remodels across Los Angeles, Santa Clarita, and the surrounding areas. Browse the before and after photos to see how professional planning prevents the mistakes in this guide.
You’ll notice finished kitchens with proper clearances. Lighting that illuminates work surfaces. Durable materials that age well. Layouts that work efficiently five years after installation.
Frequently Asked Questions About Kitchen Remodel Mistakes
What is the most common kitchen remodeling mistake?
Prioritizing appearance over workflow. Beautiful kitchens that waste steps, fail inspections, or require excessive maintenance create daily frustration. The most critical decisions happen before design gets finalized: appliance placement, counter height, clearance widths, and material durability matter more than cabinet color or backsplash style.
Should my kitchen work triangle be exact?
No. The 4-9 feet per leg and 26-foot maximum perimeter are guidelines, not laws. Modern kitchens often have multiple work zones. What matters is that your primary sink, cooktop, and refrigerator form a logical triangle without excessive back-tracking. If you stand at the sink and cannot reach the cooktop or refrigerator reasonably, your layout is broken.
Can I use marble in a cooking-heavy kitchen?
You can, but expect constant maintenance. Marble requires sealing every 6 to 12 months. Acidic spills (lemon, wine, vinegar) etch permanently even on sealed marble. Oils from cooking stain the surface. If you cook daily with multiple pots and acidic ingredients, choose porcelain, quartz, or engineered stone instead. If you use your kitchen for light cooking, marble is manageable.
How much should my contingency fund actually be?
Set aside 15 to 20 percent of your total remodel budget as contingency. For a $70,000 kitchen, that’s $10,500 to $14,000. This fund must be kept separate and used only for genuine surprises discovered during construction not for design changes or upgrades. If you exceed your contingency, you either add debt or compromise quality.
What happens if I don’t pull a permit?
Your home becomes unsellable without major complications. You must disclose unpermitted work. Buyers often demand 10 to 20 percent price reductions. Insurance may deny claims related to unpermitted work. You’ve essentially hidden a problem that explosively appears when you sell. The permit fee ($300-$2,000) is cheap insurance compared to the cost when your home changes hands.
Should I choose epoxy or cement grout for backsplash?
Choose epoxy. Epoxy grout is non-porous and resists stains without sealing. Cleaning takes minutes. Cement grout absorbs stains and requires sealing every 1 to 3 years plus regular scrubbing. If you cook daily, epoxy’s lower maintenance saves time and frustration.
Is under-cabinet lighting required?
No, but it should be included in every kitchen. Overhead light creates shadows on work surfaces. Under-cabinet LED strips eliminate shadows and make food prep safer and easier. The cost is $400 to $1,200 for a full kitchen. The convenience increase is significant.
Plan Right, Build Right
Kitchen remodel mistakes appear small during planning. They become expensive during construction. They become unbearable during daily use.
The biggest mistakes breaking the work triangle, ignoring clearances, choosing high-maintenance surfaces, skipping contingency, and bypassing permits compound. One mistake creates three more.
Get the kitchen remodeling fundamentals right before design refinement. Verify your work triangle functions daily. Confirm clearances work with door swings. Choose durable materials that match your actual cooking style. Build contingency into your budget. Pull required permits.
A beautiful kitchen that functions poorly costs more than a practical kitchen that works well. Start with workflow. Beauty follows naturally when the foundation is solid.
Ready to Plan Your Kitchen Remodel?
Don’t navigate these mistakes alone. A professional kitchen remodeling contractor catches these issues before they cost thousands. Many of these mistakes happen in the handoffs between designers, trades, and inspectors, which is why having one team coordinate the complete kitchen project makes such a difference.
Green Star Remodeling handles the technical details permits, inspections, codes, and workflows so you get both function and beauty.
Schedule your free in-home consultation today. We’ll assess your current kitchen, identify potential mistakes, and explain how proper planning prevents costly surprises.
Get Your Free Kitchen Estimate | CA License #1088206 | 1-800-610-4153
See what we’ve built: Browse our kitchen projects | Read client reviews