Your new kitchen cabinets are installed, the countertop looks beautiful, and you’ve chosen the backsplash tile. Then your installer asks a question you hadn’t considered: “Where do you want the tile to stop?”
Should it end at the upper cabinets, continue around the kitchen window, or extend across the wall where there are no cabinets?
A poorly placed backsplash edge can make an otherwise carefully planned kitchen look unfinished. You might notice a narrow strip of exposed wall, an awkward tile cut beside a window, or a tile edge that stops several inches beyond the countertop.
The best place to end a kitchen backsplash is usually at a clear architectural boundary, such as the edge of the countertop, upper cabinetry, window trim, or an intentionally designed vertical line. The exact stopping point depends on the kitchen layout and whether the backsplash is intended as a protective surface or a larger design feature.
For Woodland Hills homeowners renovating their kitchens, deciding these details before tile installation helps avoid uneven edges and unnecessary rework.
Why the Backsplash Stopping Point Matters
Most homeowners spend time choosing tile color, pattern, and grout. Far fewer consider how the tile will finish at the edges.
Yet the termination point affects the entire wall.
If your countertop continues beyond the upper cabinets, stopping the backsplash directly beneath the cabinet edge may leave part of the countertop without a tiled wall behind it.
Extending the backsplash too far creates a different problem: a strip of tile that appears disconnected from the kitchen cabinetry.
The goal isn’t to cover as much wall as possible. It’s to create a finished edge that makes sense with the surrounding features.
Before installation, identify every location where the backsplash meets a window, open wall, cabinet, appliance, or painted surface.
Should the Backsplash End With the Countertop or Upper Cabinets?
When upper and lower cabinets finish at the same point, the decision is straightforward. The backsplash can end along their shared vertical edge.
The situation becomes less obvious when the countertop extends farther than the upper cabinets.
When the Countertop Extends Beyond the Cabinets
Imagine a countertop running to the edge of a doorway while the upper cabinets stop several inches earlier.
In many kitchens, extending the backsplash to the countertop’s end creates a more complete finish because the entire counter-to-wall junction remains protected.
However, the final decision should account for how that edge looks from the adjoining room.
When Upper Cabinets Extend Beyond the Countertop
Sometimes a wall cabinet extends farther than the counter below it.
Following the cabinet edge automatically may produce tile that continues over an area without a work surface.
A deliberate vertical termination aligned with the countertop may look cleaner.
Don’t choose the stopping point based on one cabinet alone. Review the upper cabinets, countertop, nearby walls, and sightlines together.
How Should Backsplash Tile Meet a Kitchen Window?
A window above the sink often becomes the most noticeable backsplash detail.
The tile may stop beneath the windowsill, meet the window casing, or continue around the opening.
Each approach produces a different result.
Ending Tile Beneath the Windowsill
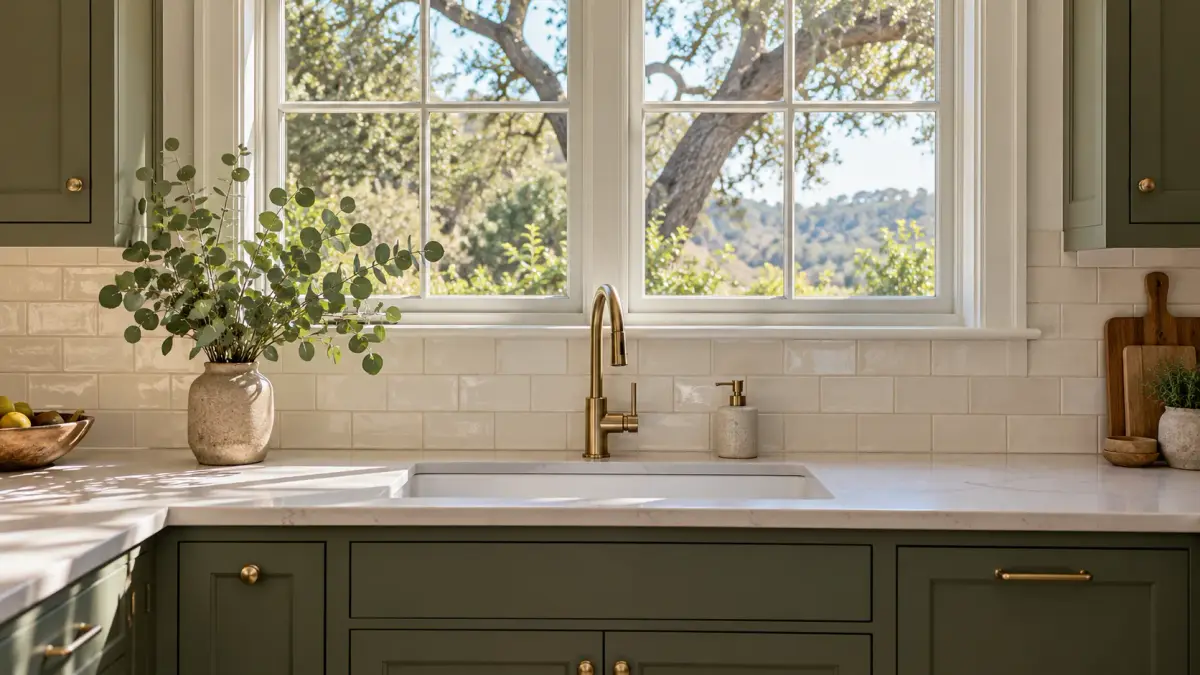
If the window has a projecting sill and finished casing, tile can often terminate neatly beneath the sill.
This works particularly well when the sill creates a clear horizontal boundary.
The installer should plan the tile courses so the final row doesn’t leave an unattractive sliver immediately below the window.
Continuing Tile Around the Window
A window with minimal trim may allow the backsplash to continue along its sides.
This can create a more integrated appearance, particularly when the tile extends higher across the surrounding wall.
The installer must account for the window returns, exposed tile edges, and the thickness of the finished assembly.
Meeting Existing Window Trim
When decorative casing surrounds the window, tile commonly finishes against that trim.
The transition should be carefully detailed rather than filled with irregular pieces.
Where dissimilar materials meet, the installer should select an appropriate movement-accommodating joint detail rather than assuming grout is suitable everywhere.
What if the Kitchen Has No Upper Cabinets?
Kitchens with open shelving or completely exposed walls offer more freedom, but they also require a stronger design decision.
Without upper cabinets, there’s no natural horizontal line telling the installer where to stop.
Three approaches are worth considering:
-
Standard-height backsplash: Tile covers the wall above the countertop to a deliberately selected height.
-
Shelf-height backsplash: Tile continues to a horizontal line coordinated with the shelving.
-
Full-height backsplash: Tile extends toward the ceiling or another architectural boundary.
A full-height backsplash can make the tile a central design feature, especially behind a range or on a prominent wall.
A shorter backsplash may suit kitchens where painted walls, artwork, or shelving are intended to remain visible.
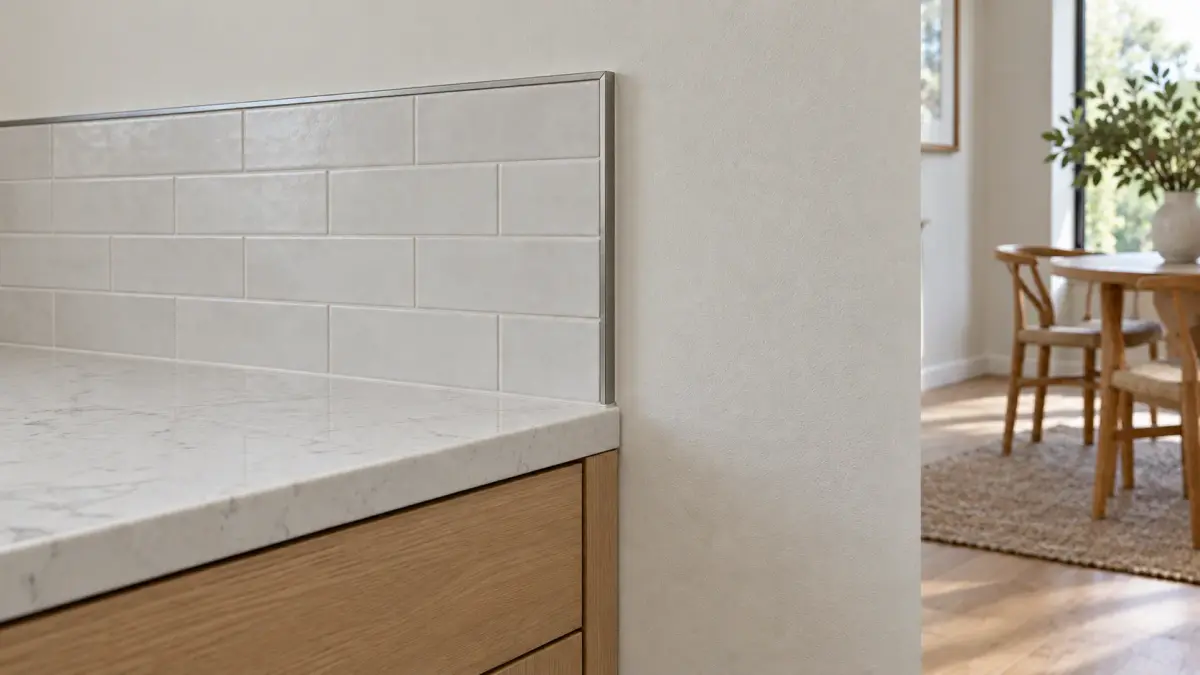
Whatever height you choose, it should look intentional rather than determined by whichever tile row happens to fit.
Where Should Tile Stop on an Open Wall?
An open wall is one of the most challenging places to finish backsplash tile.
There’s no cabinet side, window casing, or corner to conceal the edge.
For example, your countertop may end halfway along a long wall that continues into a breakfast area.
Stopping the tile at the countertop’s end is often a sensible starting point. It creates a vertical boundary associated with the work surface.
But not every kitchen looks balanced with that arrangement.
If the countertop ends close to a doorway or wall corner, extending the tile to that nearby boundary may produce a more deliberate finish.
The installer should mark the proposed stopping line on the wall before setting tile.
Look at it from the kitchen entrance and adjoining room. A line that seems correct up close can appear awkward from farther away.
Should a Backsplash Wrap Around a Corner?
When countertops turn a corner, the backsplash will often continue along both adjoining walls.
This maintains a consistent finish around the working surfaces.
However, an inside corner requires more than simply placing two tiles together.
Walls can move slightly relative to each other, so the corner joint should be detailed according to the tile system’s movement-joint requirements.
For an outside corner, the tile edges may be exposed and need a suitable finishing method.
If one side of the corner has a countertop and the other doesn’t, consider whether wrapping the tile creates a disconnected patch.
The countertop layout should guide the decision.
What Is the Cleanest Way to Finish an Exposed Backsplash Edge?
An exposed tile edge needs an intentional finish, particularly when the tile doesn’t reach a cabinet or corner.
Several methods are available.
| Edge treatment | Where it works well | What to check |
|---|---|---|
| Bullnose tile | Coordinated tile collections | Availability and matching finish |
| Metal edge profile | Contemporary kitchens | Profile depth, color, and alignment |
| Finished stone edge | Stone slab backsplashes | Fabrication and edge treatment |
| Factory-finished tile edge | Certain tile designs | Whether the edge is intended to remain visible |
| Painted wall transition | Tile ending midwall | Straight termination and appropriate joint |
A metal profile can provide a crisp finish for porcelain or ceramic tile, but its depth must match the tile assembly.
Bullnose pieces can work well when they’re available in the same collection.
Don’t assume every tile has a finished edge. Some porcelain products reveal a different body color when cut.
Ask to see the proposed edge detail before installation.
Avoid Narrow Tile Cuts Around Windows and Cabinets
Even a well-chosen stopping point can look poor if the tile layout hasn’t been planned.
Suppose a backsplash ends at a window casing, but the final vertical column requires pieces only a fraction of an inch wide.
Those pieces may draw attention to the edge and make the installation appear unbalanced.
The installer can sometimes adjust the starting point or tile layout to distribute cuts more evenly.
This matters especially with:
-
Subway tile arranged in a running-bond pattern.
-
Large-format rectangular backsplash tile.
-
Herringbone or chevron patterns.
-
Handmade-look tile with irregular edges.
-
Decorative mosaics with repeating designs.
Ask for a dry layout or marked elevation when the pattern meets several visible boundaries.
The goal is not necessarily identical cuts everywhere. It’s avoiding conspicuous, awkward pieces where the eye naturally lands.
How High Should the Backsplash Go Behind the Range?
The wall behind a range often has different visual and practical requirements from the rest of the kitchen.
Some homeowners continue the standard backsplash height. Others extend tile to the range hood or ceiling.
A taller tiled section can create a focal point, particularly when the hood is centered between cabinets.
Before selecting the height, confirm the range and hood installation instructions, required clearances, and the suitability of the selected materials.
The backsplash finish must not interfere with appliance installation or applicable safety requirements.
If the range sits on an open wall, determine whether the tiled area should align with the hood, surrounding cabinetry, or another deliberate boundary.
A decorative rectangle behind the range isn’t automatically the best solution. Its proportions should relate to the actual appliance and wall dimensions.
How Do Electrical Outlets Affect the Tile Layout?
Outlets and switches can interrupt backsplash patterns, particularly when the design uses small mosaics or strongly defined grout lines.
Their positions should be reviewed before tile installation.
An outlet close to a proposed tile termination may leave an awkward partial tile or require an unattractive edge detail.
The electrical layout must also remain compliant with applicable requirements.
When changes are permitted and included in the renovation scope, coordinating outlet placement with the backsplash design can improve the finished appearance.
Do not relocate or modify electrical devices simply to achieve a preferred tile pattern without qualified electrical review.
What Should Be Decided Before the Installer Starts?
The most effective backsplash review happens after the cabinet and countertop layout is established but before tile is permanently installed.
At that stage, walk through the kitchen and identify each exposed edge.
Ask the installer or designer to confirm:
-
The starting and stopping point on every wall.
-
The backsplash height where upper cabinets are absent.
-
How tile will meet window casing and sills.
-
Whether tile wraps around inside or outside corners.
-
Which edge trim or finishing pieces will be used.
-
How cuts will appear around outlets and fixtures.
-
What movement joints and sealants the installation requires.
For more complex patterns, request a drawing or a small mockup.
Changes are much easier to make while the layout is still being discussed.
Planning a Backsplash for a Woodland Hills Kitchen
Woodland Hills kitchens vary considerably. Some have traditional upper cabinets surrounding a sink window, while others connect directly to dining and living areas with fewer wall cabinets.
These layouts create different backsplash boundaries.
In a traditional kitchen, cabinet edges and window trim may provide clear stopping points.
In an open-plan kitchen, the backsplash may need to end along a wall that continues into another living space. The transition should look deliberate from both rooms.
During a larger renovation, the backsplash should be coordinated with cabinet dimensions, countertop installation, lighting, and electrical work.
Green Star Remodeling provides kitchen remodeling services that include cabinetry, countertops, and backsplash installation. Homeowners can also explore its Woodland Hills remodeling services when planning improvements to an existing kitchen.
Mistakes That Make a Backsplash Look Unfinished
Some backsplash problems are caused by the tile selection, but many come from decisions made too late.
One mistake is letting the tile installer choose the termination point without discussing it with the homeowner.
Another is ending tile at an arbitrary location simply because it requires fewer cuts.
Using an unfinished cut edge on a visible wall can also detract from the appearance.
Finally, failing to account for windows, outlets, and corners can create irregular pieces that might have been avoided through better layout planning.
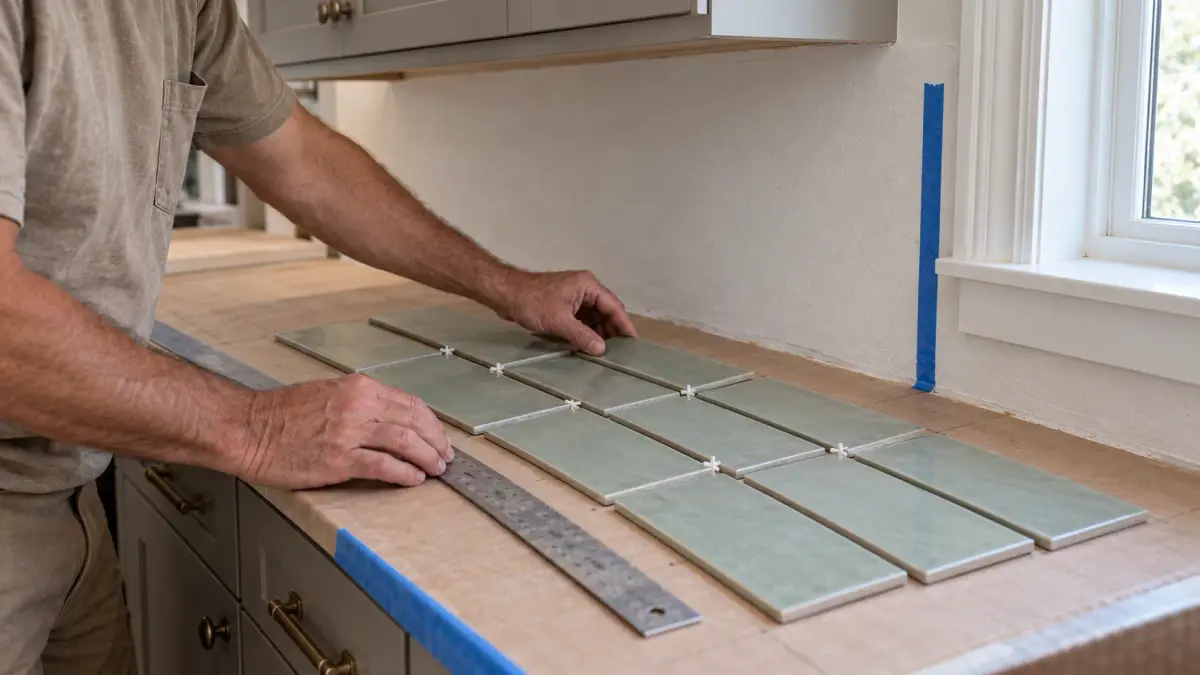
The solution is straightforward: approve the boundaries and edge details before setting the first tile.
Frequently Asked Questions
Should my backsplash end where the countertop ends?
Usually, the countertop edge is a useful stopping point. However, nearby cabinets, corners, or doorways may create a cleaner architectural boundary.
Can backsplash tile stop in the middle of a wall?
Yes. Use a straight, planned termination line and an appropriate finished edge so the tile doesn’t appear abruptly cut off.
Should backsplash tile go around a kitchen window?
It depends on the window trim and surrounding tile height. Tile may finish against the casing, beneath the sill, or continue around the opening.
Do I need edge trim on my backsplash?
Not always. Some tiles have finished edges or matching bullnose pieces. Exposed cut edges often benefit from a suitable trim profile.
Can I change the backsplash ending point after installation?
Sometimes, but altering finished tile may require removing and replacing sections. Confirm the layout before installation to avoid unnecessary work.
Make the Backsplash Edges Part of the Kitchen Design
A kitchen backsplash should look complete at every boundary, not just across the main wall.
Before installation, review where the tile meets countertops, cabinets, windows, corners, and open walls. Confirm the finished edge treatment and check the layout for awkward cuts.
If you’re planning a kitchen renovation in Woodland Hills, Green Star Remodeling can help coordinate backsplash details with the surrounding cabinetry, countertops, and overall kitchen design.