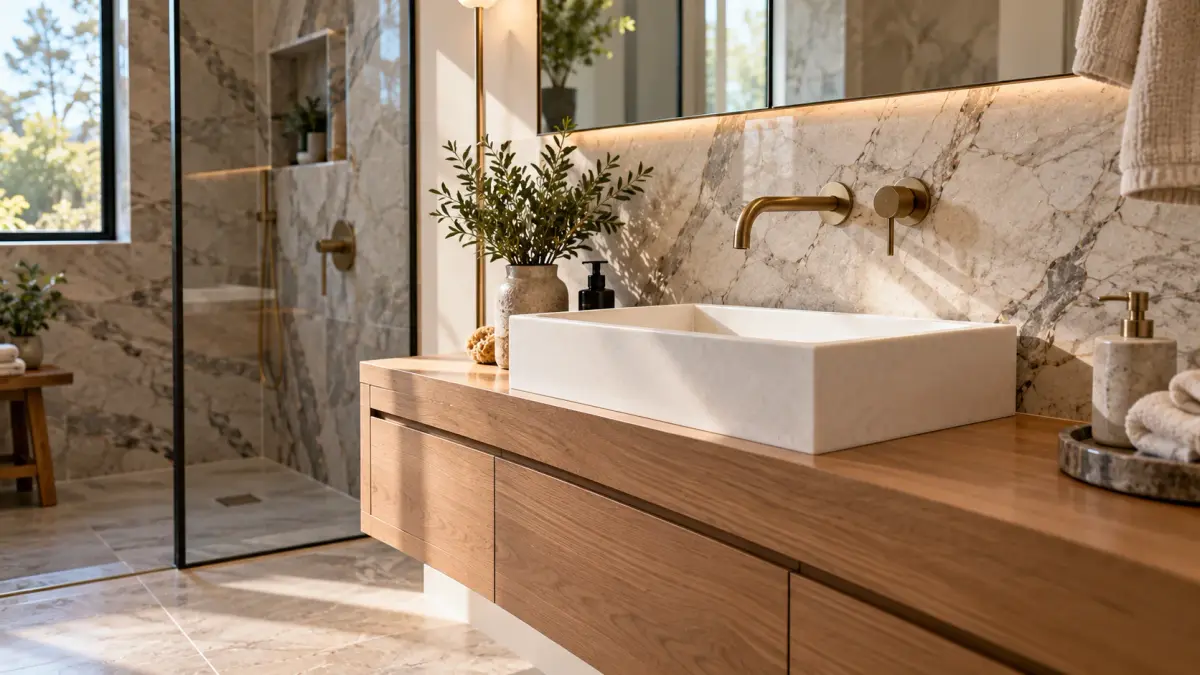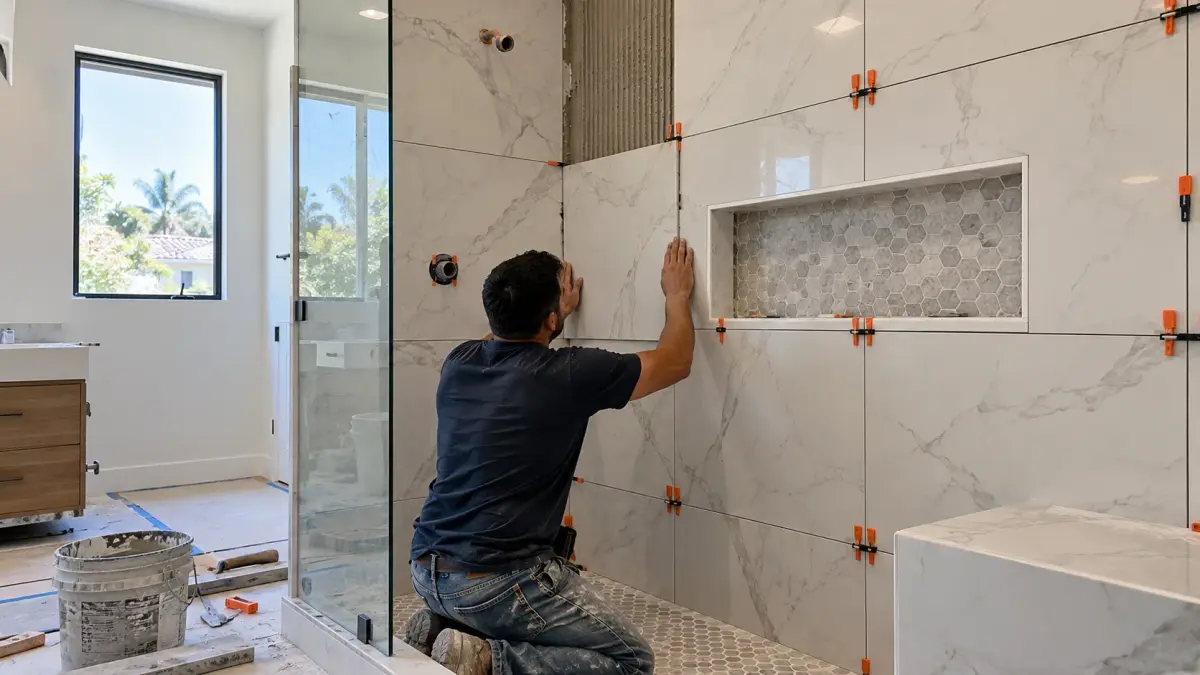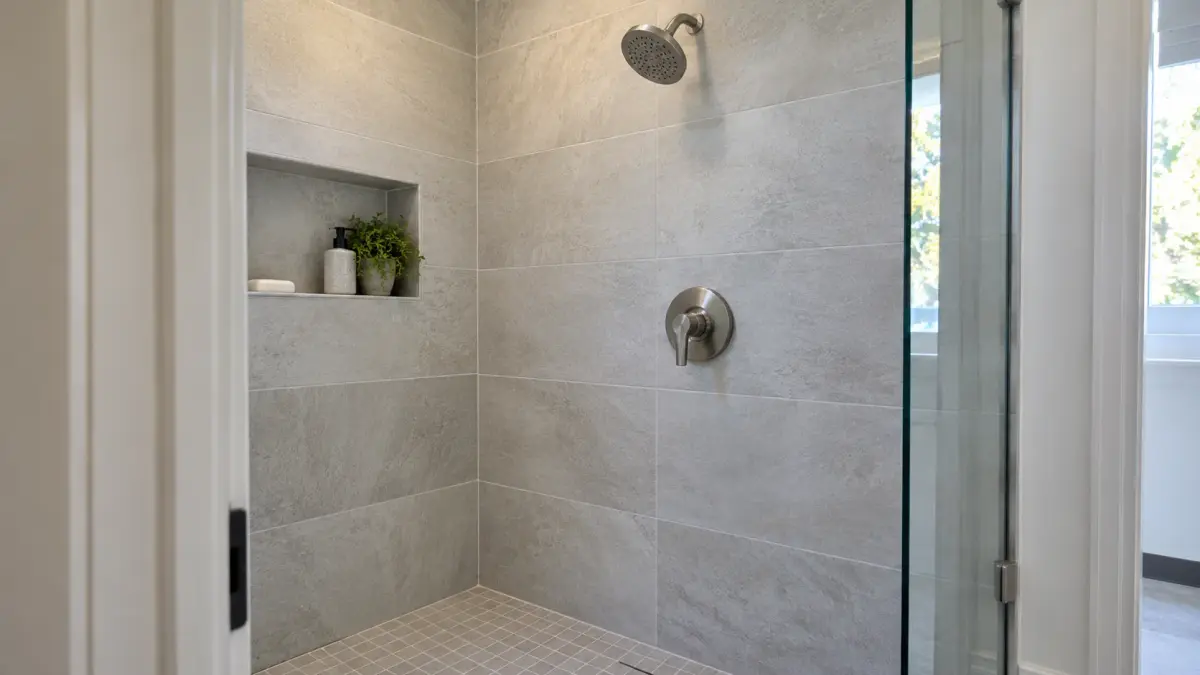
Your new shower has everything you wanted: large porcelain tiles, a rainfall showerhead, and a concealed valve with clean, minimal controls. But what happens three years later if the water temperature becomes difficult to adjust or the shower starts dripping?
Can a plumber reach the valve without removing your expensive tile?
That’s a question worth answering before the shower walls are closed.
During a bathroom renovation, the shower valve is installed behind the finished wall. Although the handle and trim remain visible, important plumbing components sit inside the wall cavity. Some can be serviced from the shower side, while others may require access from behind.
For Woodland Hills homeowners planning a bathroom remodel, understanding these differences helps protect the finished shower and makes future maintenance easier.
Can a Shower Valve Be Repaired Without Removing Tile?
Yes, many shower valves allow certain repairs through the opening behind the handle and decorative trim plate. A plumber may be able to replace a cartridge, adjust a temperature limit, or service designated components without disturbing the surrounding tile.
However, not every valve provides the same access.
If the valve body, supply connections, or concealed fittings need replacement, additional access may be necessary.
The right approach is to choose the valve first, review its servicing instructions, and plan any required access before waterproofing and tiling begin.
A removable panel behind the shower wall can be useful when the selected system requires rear access or when future repairs may involve concealed connections.
What’s Actually Hidden Behind Your Shower Handle?
A shower valve does more than turn water on and off. Depending on its design, it also controls temperature, pressure balance, or water flow between outlets.
Understanding the main components makes it easier to discuss maintenance access with your contractor.
Valve Body
The valve body is the main plumbing component connected to the hot and cold water supplies.
It’s normally secured inside the wall before the finished shower surface is installed.
Replacing the complete valve body may require access to the pipe connections around it.
Mixing or Pressure-Balancing Cartridge
The cartridge is an internal component that helps control water flow or temperature.
Some cartridges can be removed from the front after taking off the handle and trim.
The exact procedure depends on the manufacturer and model.
Diverter Valve
A shower with a rainfall head, handheld sprayer, or multiple outlets may have a diverter that directs water between them.
The diverter may contain serviceable parts that require their own access.
Trim Plate and Controls
The visible handle and trim cover the installation opening.
Although removing the trim can expose service components, it doesn’t guarantee access to every connection behind the wall.
Front Access vs. Rear Access: What’s the Difference?
Not every concealed shower requires a separate access panel. The manufacturer’s servicing requirements should determine the approach.
| Access method | What it may allow | Main limitation |
|---|---|---|
| Front access through trim | Cartridge replacement and specified internal servicing | May not expose pipe connections or the complete valve body |
| Rear wall access panel | Access to concealed valve body and nearby connections | Requires a suitable accessible wall behind the shower |
| Opening finished tile | Access when no suitable service route exists | May damage tile and waterproofing, requiring restoration |
Some manufacturers specifically require rear access for their concealed valve systems. Others design certain service components to be reached from the front.
For example, Bristan’s installation guidance for particular concealed valves calls for a removable rear access opening, while other manufacturers provide front-service procedures for designated cartridges.
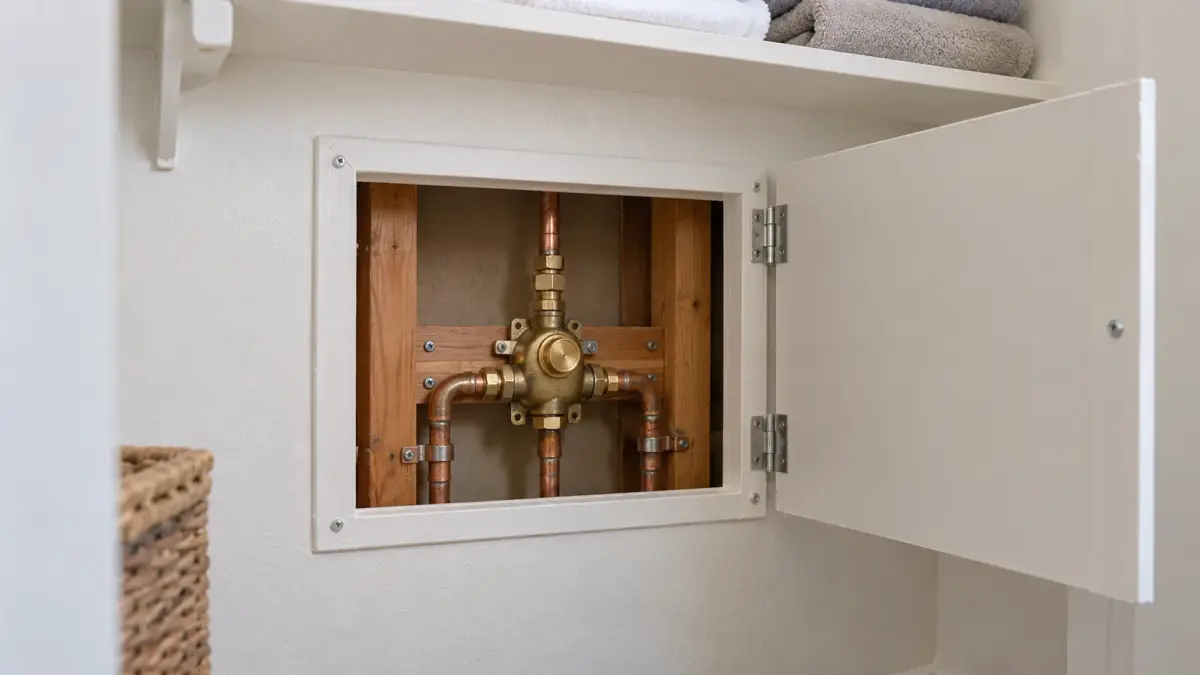
This is why the exact valve model matters more than a general statement that all concealed showers need access panels.
Where Should a Shower Valve Access Panel Go?
If the selected valve requires rear access, the best location is usually on the opposite side of the wall from the shower controls.
An adjoining closet, hallway, or utility space may provide a practical location.
A panel installed in a dry room can allow future access without disturbing the shower’s waterproofed surface.
Behind the Shower in a Closet
A closet wall is often convenient because a removable panel can be placed out of everyday view.
However, shelves, cabinetry, or stored belongings shouldn’t prevent someone from reaching it.
On an Adjacent Hallway Wall
A hallway access panel may be easier to reach, although its appearance becomes more important.
Paintable or flush-fitting panels can help the opening blend into the surrounding wall.
Inside an Adjacent Cabinet
In some bathroom layouts, a removable cabinet back may provide access.
The opening must still be large enough for the required servicing tasks.
A panel hidden behind a permanently installed cabinet doesn’t provide practical maintenance access.
How Large Should the Access Opening Be?
There’s no single panel dimension that suits every shower valve.
The required opening depends on the valve’s configuration, manufacturer instructions, pipe locations, and the work that may need to be performed.
A small opening might expose the cartridge but leave insufficient room to reach fittings behind the valve body.
Before choosing a panel, ask the installer to identify the components that need servicing and demonstrate how they would be reached.
The opening should accommodate the required tools and replacement parts without interfering with framing or other building services.
Don’t select an access panel solely because its dimensions look discreet.
What if the Shower Wall Backs Onto Another Bathroom?
Some showers share a plumbing wall with another bathroom rather than a closet or hallway.
That arrangement can complicate access planning.
Creating an opening through the opposite bathroom’s tiled surface may simply transfer the maintenance problem from one shower to another.
In this situation, the project team should evaluate whether a front-serviceable valve is appropriate or whether the layout can provide another accessible route.
The decision should be made while framing and plumbing remain exposed.
Moving the valve slightly or selecting a different model may be easier than creating an access route after both rooms are finished.
Can You Service a Concealed Shower Valve From the Front?
Some modern concealed shower systems are designed to make cartridge replacement and certain maintenance tasks possible through the trim opening.
That can be useful when there’s no accessible wall behind the shower.
But “front-serviceable” doesn’t necessarily mean the entire valve can be replaced from the front.
Before buying the system, check:
-
Which parts can be removed through the front opening.
-
Whether service stops are accessible.
-
Whether replacement cartridges are available.
-
What installation depth the manufacturer specifies.
-
Whether servicing requires special tools.
-
What happens if the complete valve body needs replacement.
Ask for the manufacturer’s installation and maintenance documentation rather than relying only on a product description.
Why Valve Installation Depth Matters
A concealed valve must be installed at the correct depth relative to the finished wall.
That finished wall includes more than the framing.
Depending on the system, it may include backer board, waterproofing, setting material, and tile.
If the valve is installed too deeply, the handle and trim may not fit correctly, and cartridge access may become difficult.
If it projects too far forward, the trim may not sit properly against the finished surface.
Manufacturers commonly specify minimum and maximum installation depths.
The installer should account for the complete wall assembly before securing the valve.
This measurement should be verified before tile installation, not corrected by cutting additional material away from the finished wall.
Don’t Let Waterproofing Block Future Repairs
A shower wall must resist water penetration while still allowing the valve to operate and be serviced as designed.
These requirements need to work together.
The waterproofing system should be installed around valve penetrations according to its manufacturer’s instructions and the valve manufacturer’s requirements.
The finished opening must allow the designated trim and service components to be removed without unnecessary damage.
Cutting a larger hole through completed waterproofing later can create additional repair work.
For a shower with large-format porcelain or natural stone tile, preserving the waterproofing assembly is particularly important because matching replacement finishes may be difficult.
What Happens When a Shower Valve Starts Leaking?
Not every shower leak comes from the same location.
A dripping showerhead may indicate a cartridge or internal sealing problem.
Water appearing inside the wall may involve a concealed connection, damaged valve body, or another plumbing component.
These situations require different diagnostic and repair procedures.
If you notice unexplained moisture, staining, or signs of water damage, stop using the affected fixture when appropriate and arrange professional inspection promptly.
A plumber should identify the source before anyone begins removing tile.
If the valve has an accessible cartridge, the repair may be relatively contained.
If the problem involves concealed connections, the plumber may need a larger service opening.
Planning that access during remodeling can reduce the amount of finished construction disturbed later.
Should You Install an Access Panel in Every Shower?
Not necessarily.
A separate panel isn’t automatically required for every shower valve, and an access panel doesn’t replace proper installation or leak testing.
The decision should follow the selected valve’s servicing instructions, applicable requirements, and the actual wall arrangement.
A well-designed front-serviceable system may provide adequate access for specified maintenance tasks.
Another valve may explicitly require rear access.
If the wall behind the shower is readily accessible, planning a removable panel can provide additional flexibility for future repairs.
The important question is whether the necessary components can actually be serviced, not simply whether a panel exists somewhere nearby.
What to Check Before Closing the Shower Wall
The best time to review valve access is after rough plumbing is installed but before wall finishes conceal the connections.
Ask your contractor and plumber to walk through the installation with you.
Confirm the following:
-
Exact valve model: Is the installed product the model specified in the approved plan?
-
Service instructions: Which components can be reached from the front?
-
Rear access: Does the manufacturer require an opening behind the valve?
-
Water isolation: How will the water supply be shut off for maintenance?
-
Installation depth: Does the valve align with the intended finished wall thickness?
-
Testing: Have the plumbing connections been inspected and tested as required?
-
Documentation: Will you receive the model information and servicing instructions?
Photographs of the exposed plumbing can also help identify component locations in the future.
Keep those photographs with your bathroom renovation records.
Shower Valve Planning for Woodland Hills Homes
Bathroom renovations in Woodland Hills often involve replacing older tub-and-shower combinations, updating plumbing fixtures, or installing walk-in showers with multiple water outlets.
Each project may create different access challenges.
If you’re converting a bathtub to a walk-in shower, the valve location may change to suit the new layout.
If you’re adding a rainfall showerhead and handheld sprayer, the plumbing system may include additional diverter components.
And if you’re installing large-format wall tile, it’s especially worthwhile to confirm the servicing arrangement before the finishes are installed.
Green Star Remodeling’s bathroom remodeling services cover shower renovation and related planning. The company’s Woodland Hills remodeling page also features completed bathroom projects in the area.
Discussing valve accessibility during design and rough plumbing helps connect the finished appearance with practical maintenance needs.
Questions Homeowners Often Forget to Ask
When selecting shower fixtures, most conversations focus on finish colors, spray patterns, and handle styles.
A few less obvious questions deserve equal attention.
Can I buy replacement cartridges later? Ask about the exact cartridge model and whether compatible replacements are available.
Will removing the handle damage the tile? Properly designed service access should allow designated components to be reached without unnecessarily disturbing finishes.
Can the plumber shut off water locally? Some valves include accessible service stops. Other installations may require shutting off a larger portion of the home’s water supply.
Who keeps the installation manual? You should receive the manufacturer’s documentation and a record of the installed model.
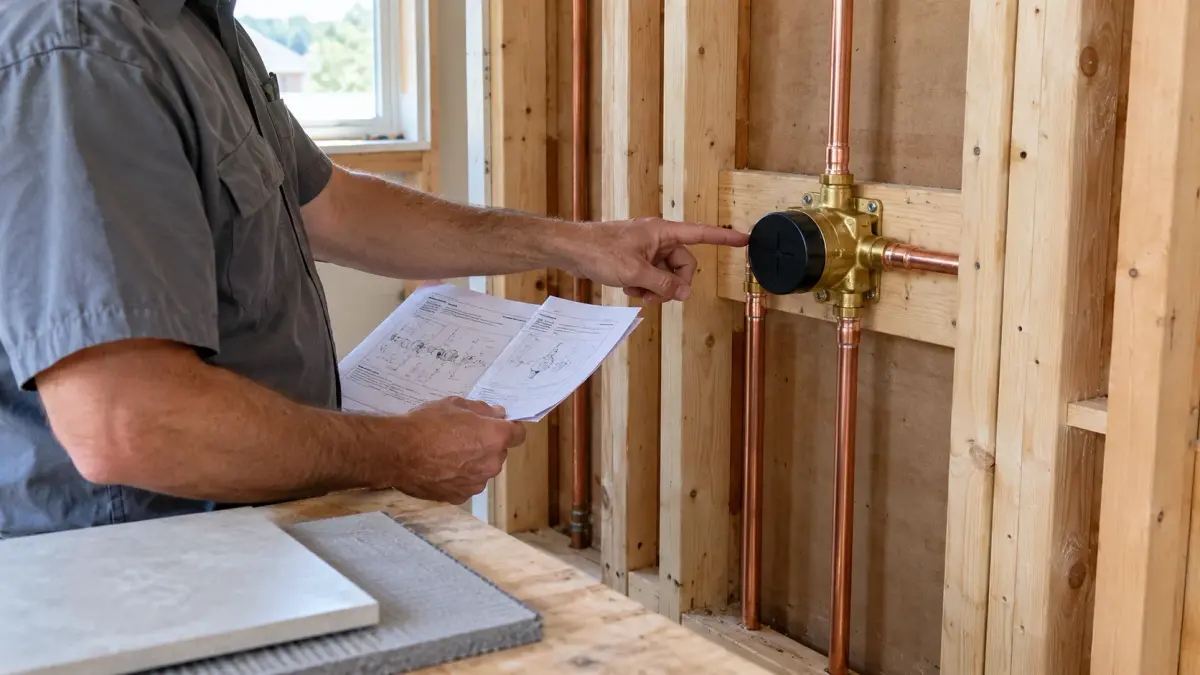
These details may not change how the shower looks on installation day, but they can make a meaningful difference when maintenance is needed.
Frequently Asked Questions
Can a plumber replace a shower cartridge without removing tile?
Often, yes. Many valves allow cartridge replacement through the handle opening, but the exact procedure depends on the model and installation.
Does every concealed shower valve need an access panel?
No. Some systems provide designated front servicing. Others require rear access. Check the manufacturer’s instructions for the specific valve.
Where should a shower access panel be installed?
When rear access is needed, an adjoining closet, hallway, or accessible cabinet may work. The opening must reach the relevant plumbing components.
What if my shower valve is already behind finished tile?
A plumber can identify the model and determine what can be serviced through the trim opening. Additional wall access may be needed for certain repairs.
Can I add an access panel after remodeling?
Sometimes. A qualified professional must first locate the valve and check for concealed pipes, wiring, framing, and other obstructions.
Make Future Repairs Part of Your Shower Design
A finished shower should be attractive, comfortable, and practical to maintain.
Before installing tile, confirm how the shower valve will be serviced, whether a rear access panel is needed, and whether the selected valve can be repaired through its trim opening.
For homeowners planning bathroom remodeling in Woodland Hills, Green Star Remodeling can help coordinate shower layout, fixtures, and construction details during the renovation planning process.